Which Tubing Connection Works Best for Your Application?
Finding the right flow control components for a new project can be difficult with the variety of fittings available. Each fitting has unique features, benefits, and downsides that make them ideal for specific tasks. In this guide, we will take you through a few different types of fittings, their pros and cons, and installation.
Barb Fittings
While there are a variety of barb fittings, they all serve the same purpose: a secure, sealed connection. The barbed design allows for tubes to be slid onto the fitting in one direction and caught by the barb when pulled against, forming an airtight seal that is difficult to remove. Barb fittings come in different forms with one, two, three, or even more barbs. A line contact (single) barb allows the tube to slip over the sharp barb and form around it, creating a tight seal with minimal stretching to the tube for maximum flow and shape retention.

Soft tubes with a low durometer, Shore A 85 or below, work best with barbs, and their ability to secure inside the tubing minimizes additional space needed for the fitting. Barb fittings work best at a pressure below 125 psi, and any connection over 100 psi should be assisted by tubing clamps. These fittings can be difficult to use with harder tubing that cannot easily slide over the barbs. Non-flexible tubing should not be used with barb fittings.
To install barb fittings, start by identifying the tubing size you will be using and make sure that the barb matches those measurements. The tube's inner diameter (ID) should be close to the barb’s outer diameter (OD). With very soft tubing, the tube can be manually stretched over the barb with your hands or tools. If the tubing is harder, preventing the fitting from sliding in, it is recommended to heat up the tube with hot water or air, depending on the application. Once the barb is fully inside the tubing, pull in the opposite direction to allow the barbs to dig into the tubing. If the barb needs to be removed, the tube should be cut just past where the barb is inserted. The tubing still attached to the barb can often be cut as well to free the barb.
Push to Connect
Push-to-Connect fittings slide onto the outside of the tubing, forming a consistent seal that can be taken on and off without tools. The interchangeable design of the push-to-connect fitting makes it ideal for prototyping and work in process machinery. The fitting's external collet design means they can handle a higher durometer of tubing (Shore A 95 or higher). There are also versions of this fitting designed for PVC and copper connections. The utilization of teeth and an internal O-ring that attach to the outside of the tubing allow for minimum disruption to flow, an alternative to barb fitting's internal attachment.
Push-to-Connect fittings rely on the teeth to be sharp and even to ensure a secure connection. If a fitting is disconnected too frequently, it can smooth or break teeth, limiting the tubing retention. The Push-to-Connect fitting can handle a low psi like the barb fitting and should not be used for high-pressure jobs.


Installing a push-to-connect fitting is a straightforward process. Start by ensuring that each connection point and tubing size is the same, using the OD of the tubing. Insert the tubing into the fitting as far as you can. Give a slight tug to seat the teeth and collet, making a secure connection. To remove the tube, push the collet in so that it touches the edge of the fitting. This will release the tubing and disconnect the fitting.
Compression Fittings
Compression fittings are the toughest of the bunch. With the ability to handle a range of tubing durometers and 150 psi or more, these fittings are designed to handle intense pressure. Compression fittings can be manually attached and removed like push-to-connect fittings. However, compression fittings typically require tools for installation as they feature a nut that needs tightening. They offer virtually all the same features as a push-to-connect but with much stronger tubing retention.
Although the compression fitting is arguably stronger than push to connect, it has some drawbacks. The fitting can only be interchanged a few times before it begins to deteriorate and loses its high psi capabilities as threads can become galled. Interchanging them is more challenging than it is with push-to-connects due to the tools and labor required for attachment. Furthermore, these fittings are large and take up more space than other fittings. Compression fittings can be necessary for intense jobs, but they are the most difficult to manage due to the time it takes to assemble.
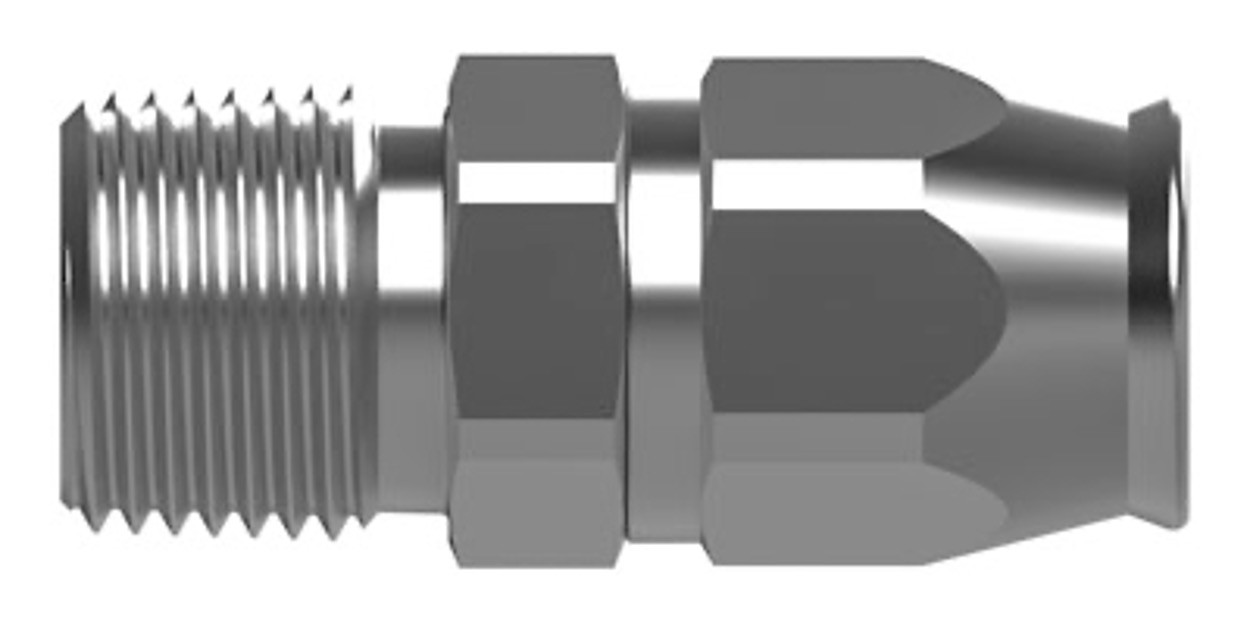
Compression fittings comprise of three parts: the body, sleeve or ferrule, and compression nut. Slide the nut onto the tube, then the sleeve, and finally, insert the tubing into the body. Ensure that the body is pushed as far onto the tube before securing. Next, slide the sleeve against the body; then, the nut capturing the sleeve between the nut and body. Using a wrench or pliers, screw the nut down until it is tight.
From high-pressure applications to using soft, flexible tubing, there is a fitting for almost every situation. At ISM, our helpful sales staff is ready to help you find the ideal fitting for your next job.